Sample: Blog with Images Below Text
Below is the process for making a blog post that has images above/below text. It assumes that you are working from a Word document that already has the content for the blog post and that you are looking at this page. Click images to make them larger.
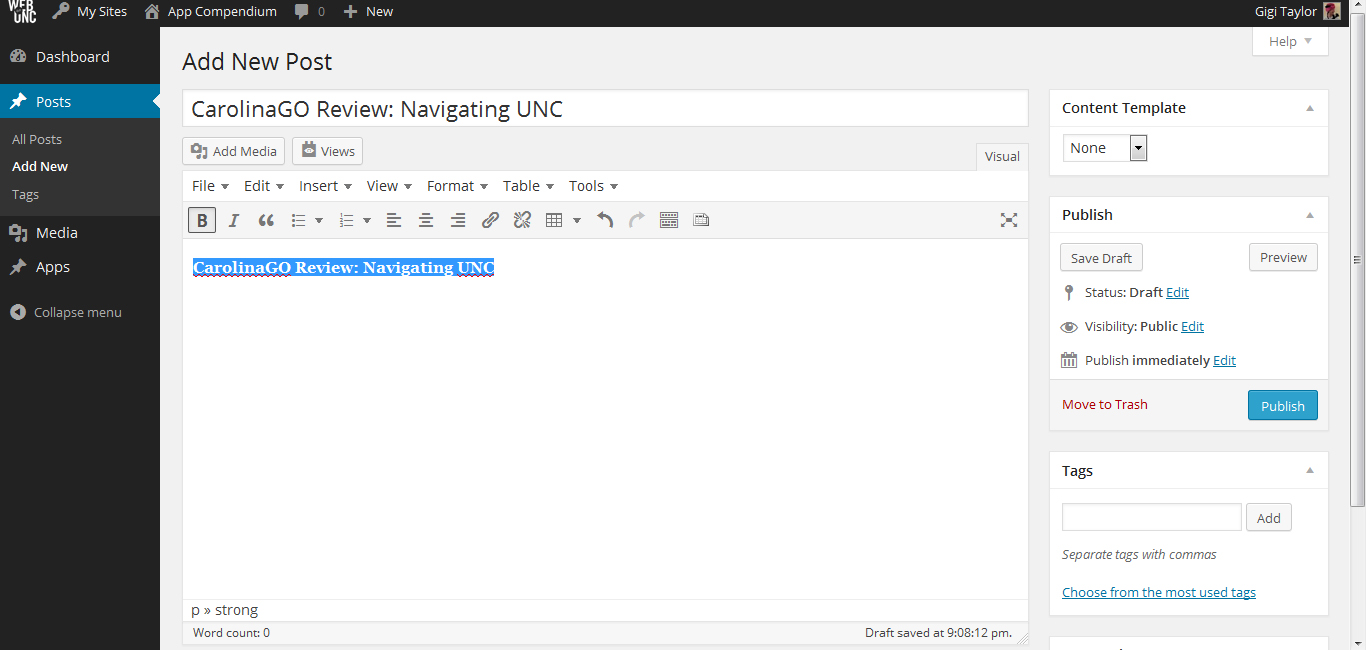
1. Copy-paste the blog title and text from the Word document to corresponding fields on WordPress. Bold the blog’s title. Style the remainder of the blog’s body text using the buttons above the text entry field as you would in Word.
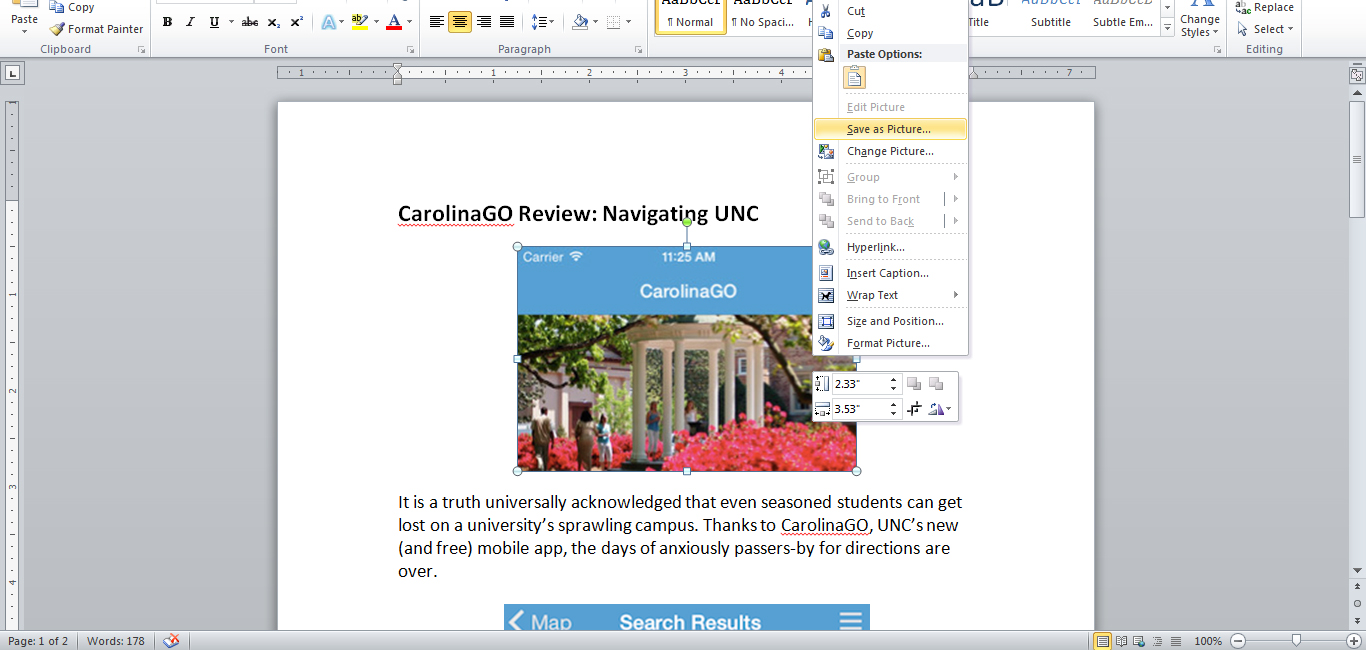
2. When you’re ready to insert the images, open the Word document. (If you’re inserting an image that is already saved, skip to step 4.) Right click on your desired image and click “Save as Picture…”
3. In the window that pops up, name your image and save it in a location that you can easily access. Here, the image is named “CarolinaGO 1″ and is being saved in the Pictures Library on the PC.

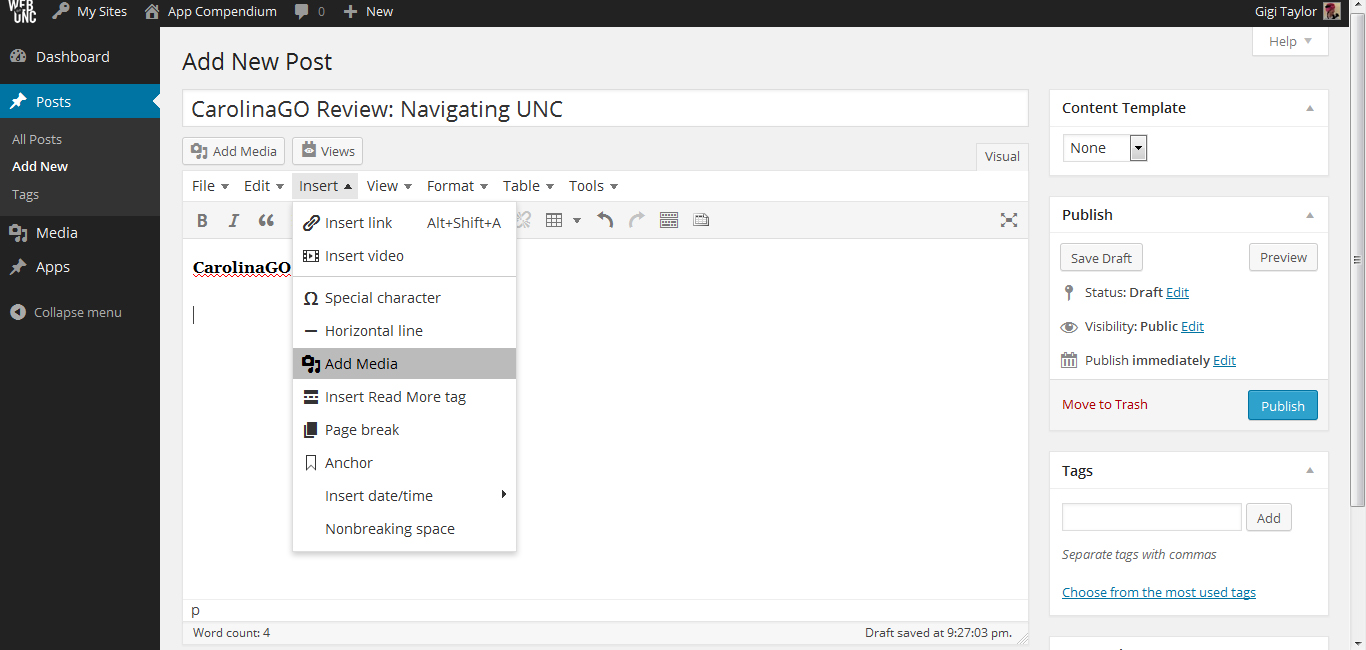
4. After saving the image from the Word document to your PC, go back to WordPress. Position the mouse cursor where you’d like to insert the image, then click Insert, then “Add Media”.
5. In the window that pops up, click on the “Upload Files” tab in the top left (next to “Media Library”).
6. Click on “Select Files”.

7. On the next window that appears, locate your image. Here, it is in the Pictures Library from step 3.

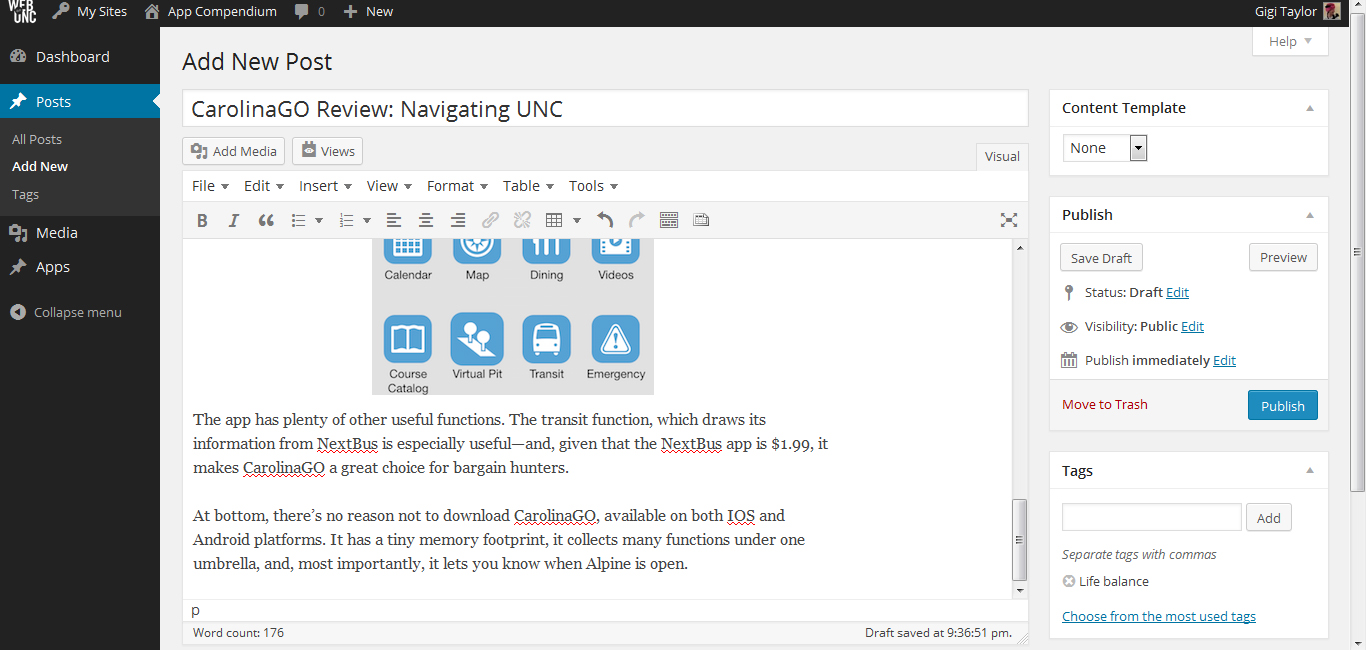
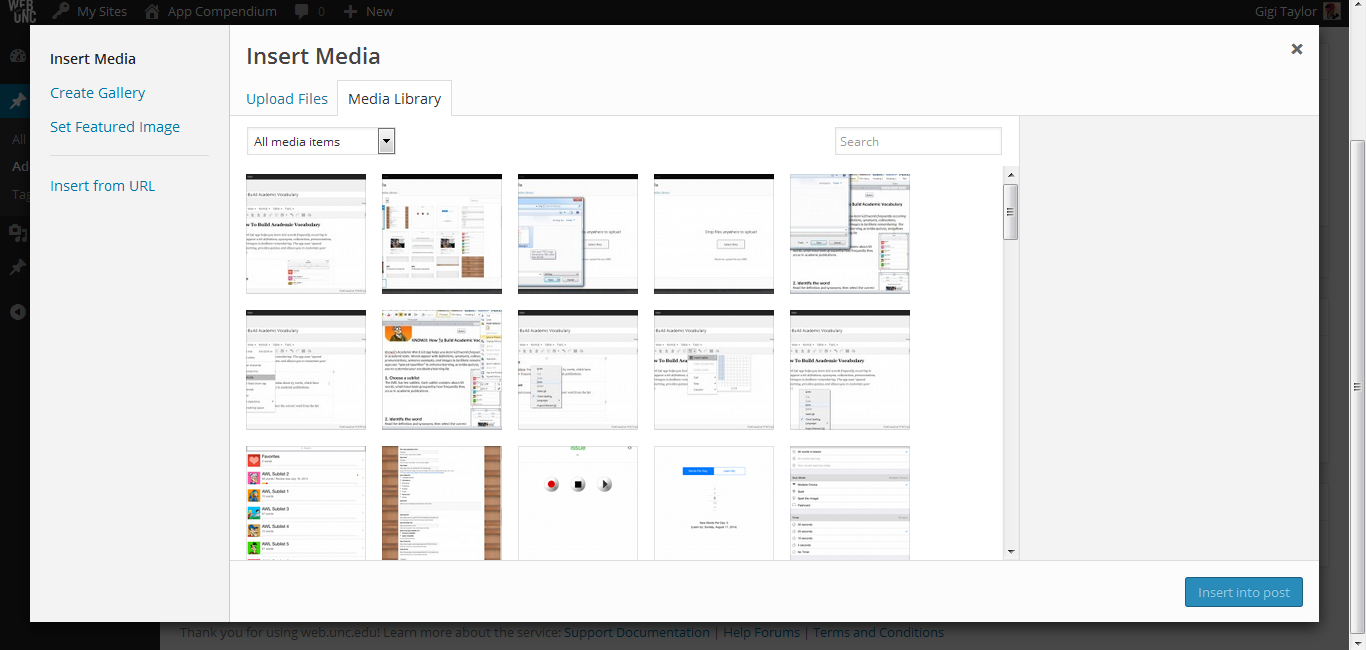
8. After choosing an image, you should now see your image highlighted and checked (among the rest of the images in the iApps Media Library). In the bottom right, check the “Attachment Display Settings” and make sure it matches in “Alignment” (Center), “Link to” (Media File), and “Size” (Medium). If “Medium” size is not available, choose “Full Size”. Click “Insert into post”.

9. If you want to change the alignment, position the image the way you would in Word by selecting it and using the buttons above the text entry field.

10. After adding all your text and images, enter tags in the bottom right part of the screen. Type the category or categories (language learning, life balance, note taking, productivity, reading, STEM, study tools, writing) that your blog belongs to. The field should auto-complete as you type the category. Click on the category to populate the text field. DO NOT add a tag that is not one of the 8 app categories.
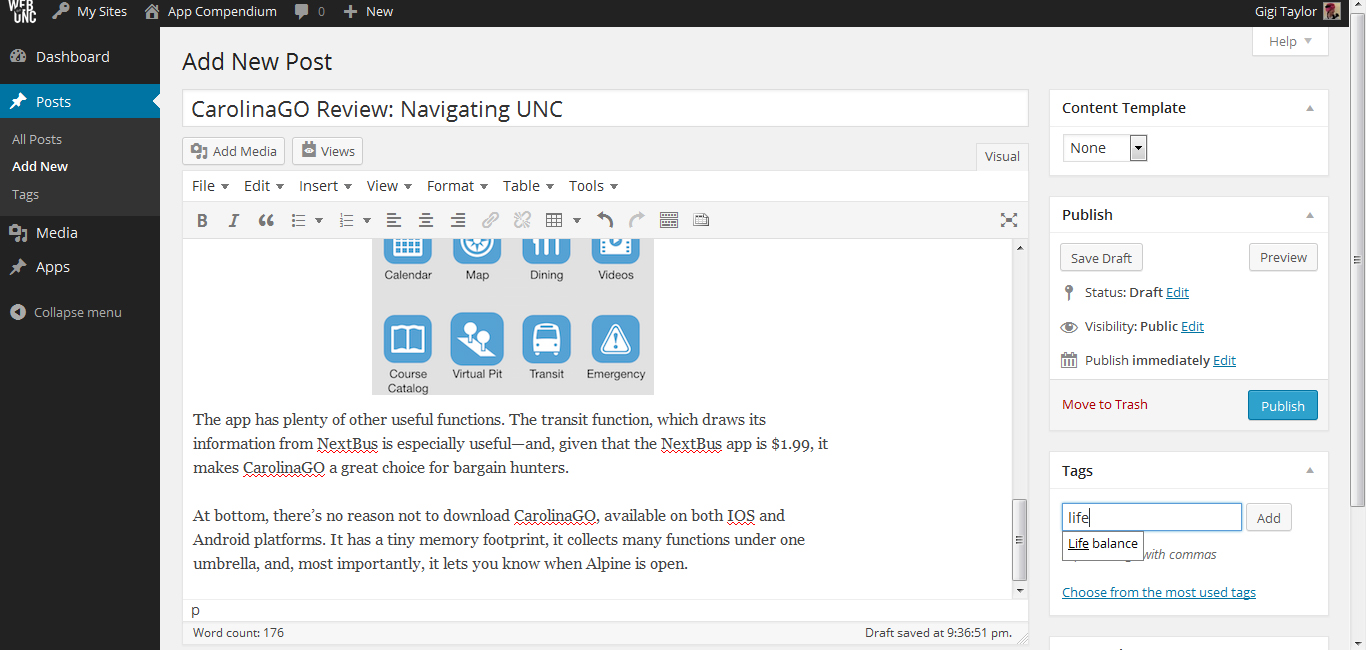
11. After entering the tag, click Add. The tag should appear directly below the text entry field with an X in a circle next to it. Click the blue Publish button to finish.