KNOWJI: How To Build Academic Vocabulary

Our blog posts share what our students and staff have to say about selected apps. This blog post explains how to build academic vocabulary with Knowji, a vocabulary app.

KNOWJI: How To Build Academic Vocabulary

Knowji’s Academic Word List app helps you learn 620 words frequently used in academic texts. It’s a great tool for ESL students and for students new to academia. Words appear with definitions, synonyms, collocations, pronunciations, sentence examples, and images to facilitate remembering. The app uses “spaced repetition” to enhance learning, provides quizzes, and allows you to customize your vocabulary learning list.

1. Choose a sublist: The AWL has ten sublists. Each sublist contains about 65 words, which have been grouped by how frequently they occur in academic publications. 0
2. Identify the word: Read the definition and synonyms, then select the correct word from the list at the top. 1
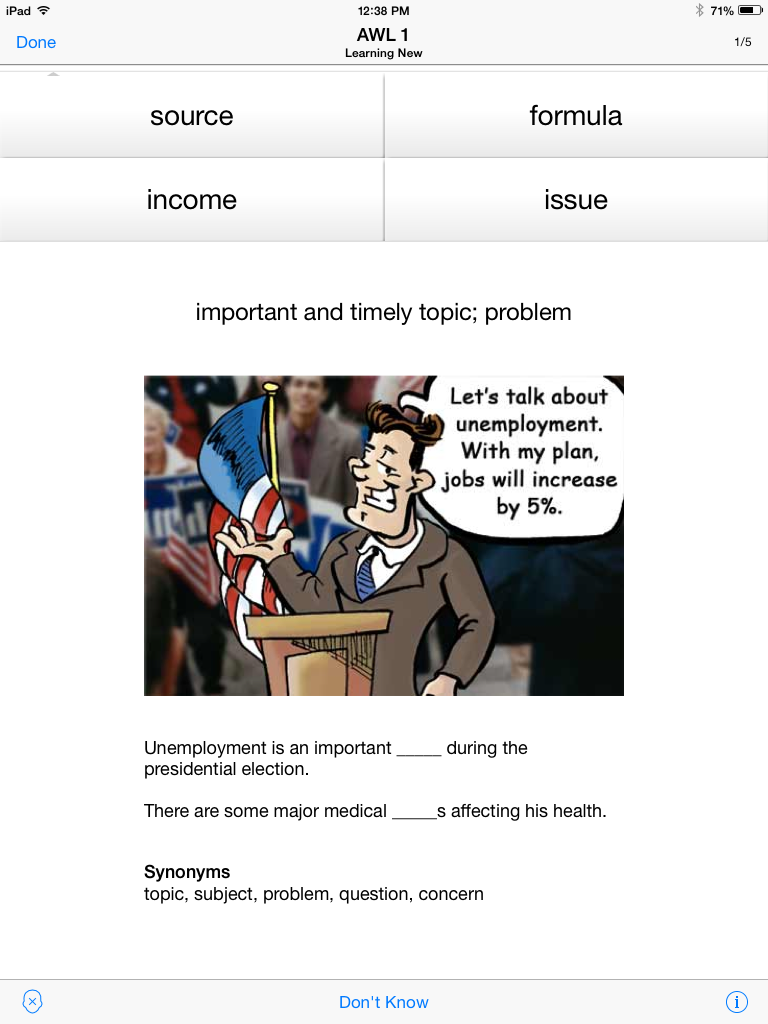
3. Choose the right definition: Test your recognition of the definition. If you choose the wrong definition, you’ll be taken back to that word’s learning page so that you can refresh your memory. 2
4. Enter the correct word: Test your recall as you move the new word from passive to active vocabulary. 3
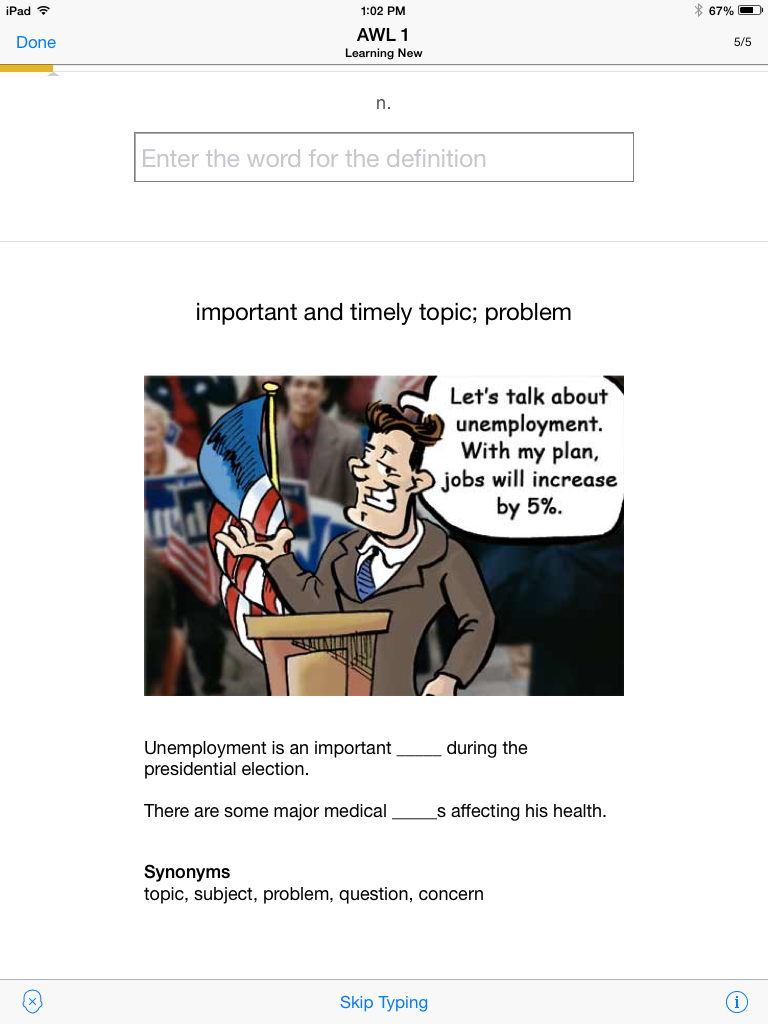
5. Recall the definition: If you don’t remember or remember incorrectly, you’ll be taken back to the definition page. 4
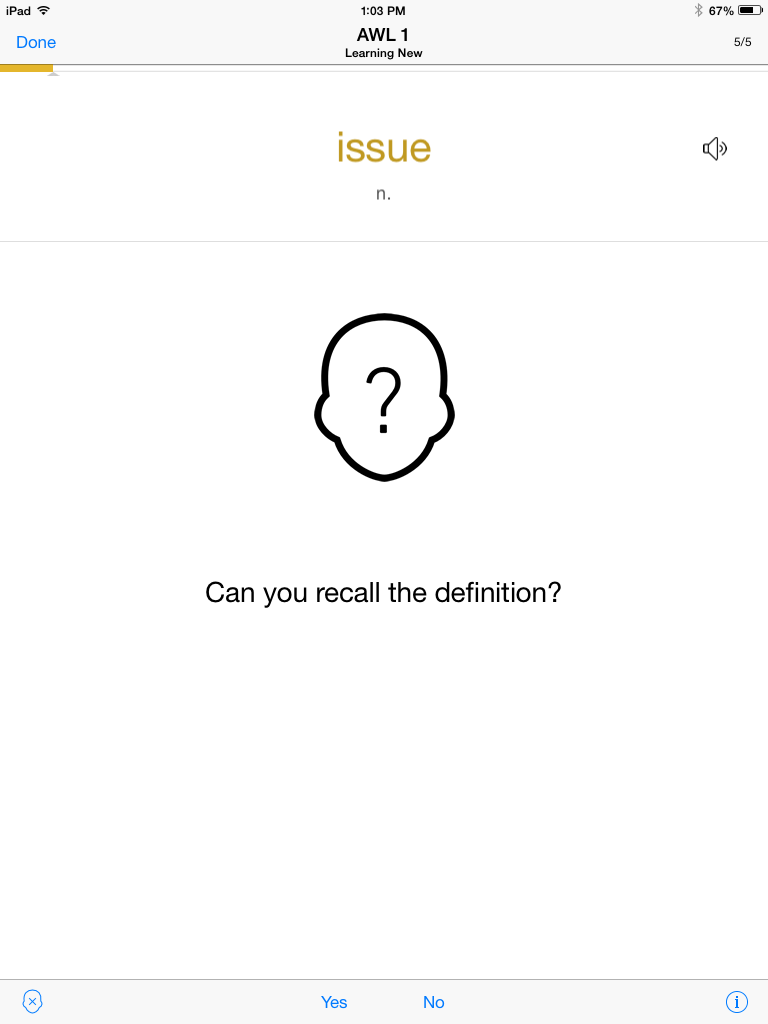
6. Quiz yourself: Choose which words to test, what kind of test, and how much time you have to answer. 5
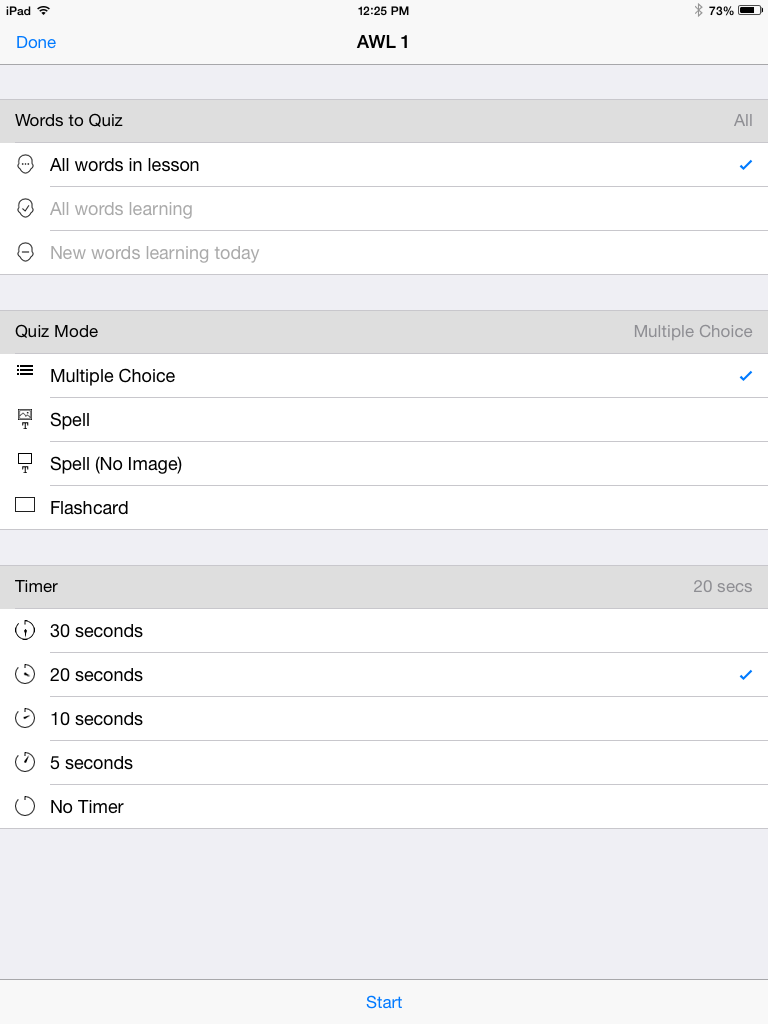
7. Set learning goals: Set targets for number of words and “learn by” dates. Knowji will alert you when it’s time to review words based on the learning concept of “spaced repetition.” When you’ve learned a word well enough, move it to the “Not Learning” list to skip further reviews. 6
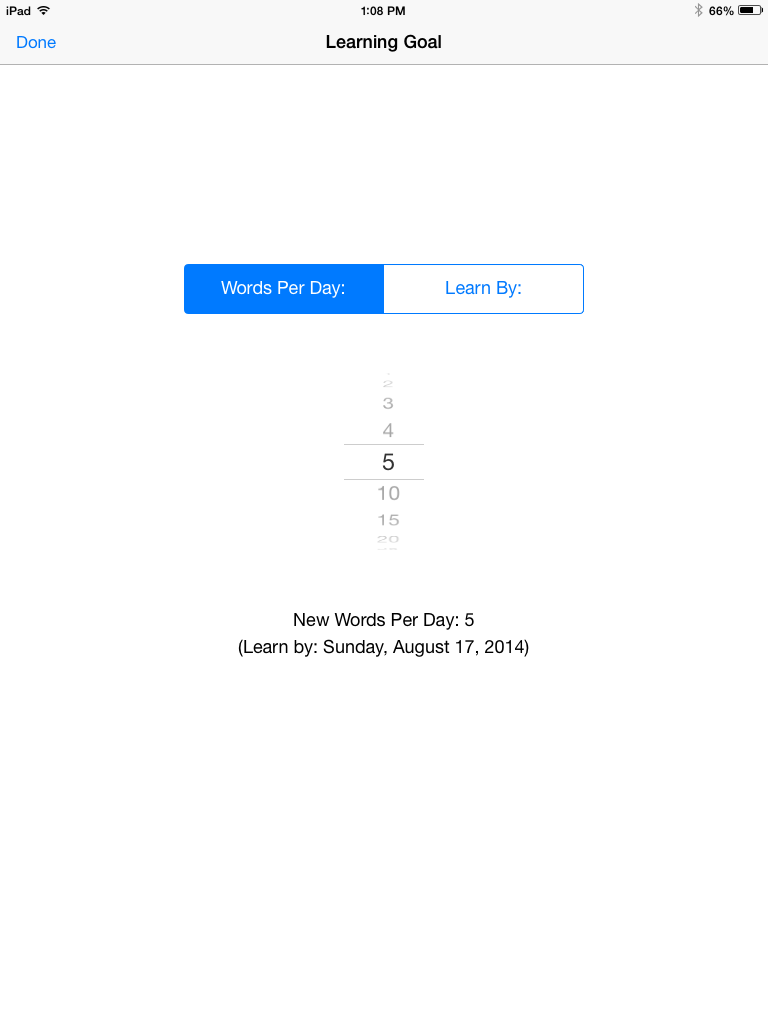
8. Record your pronunciation: Listen to Knowji pronounce the word, then record your own voice to compare pronunciations. Success comes with practice!
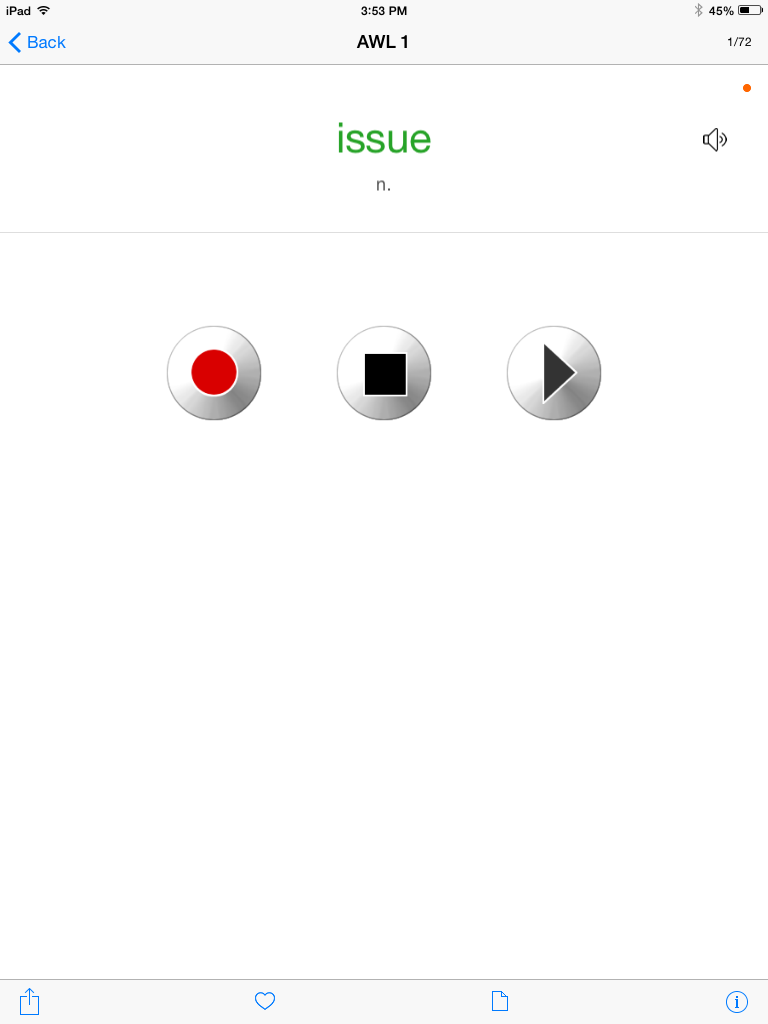
 7

Blog by: Gigi

Posted in App Compendium | Tagged | Leave a comment

Notability and Dropbox How To: Importing and Exporting Notes

Our blog posts share what our students and staff have to say about selected apps. In this blog post, Kristen explains how to import and export notes in Notability, a note-taking app, and Dropbox, a cloud storage service.

Notability and Dropbox How To: Importing and Exporting Notes

dbtop nottop

Exporting Notability documents to Dropbox:

Steps 1 and 2: From Notability’s main page (where your folders and documents are listed), click the small box with the arrow coming out of it. Fun fact: that arrow is a universal symbol in the digital world that means “where do you want to send a selected item?” Clicking it will prompt you to choose a note for sharing. Simply tap on a document, and a small checkmark will appear. d-01
Steps 3 and 4: Now that you’ve got a document ready to export, click the arrow again, and a drop-down menu will appear. Look at all the places you can send your document! Click Dropbox. d-02
Step 5: Get ready: another drop-down menu will appear, displaying your very own Dropbox folders! Click on the folder of your choice, which will prompt you to select a file format in which to save your Notability document. d-03

Importing Dropbox documents into Notabililty:

Step 1: From Notability’s main page, click the small box with the arrow coming into it. You’ll see Dropbox is one of the choices. d-04
Step 2: Behold your Dropbox files! d-05
Step 3: Select the file you’d like to send to Notability, and then click OK. d-06
Step 4: This document can either be saved as a new Notability note or be added to an existing Notability note. d-07

A final word about importing:

Notability can directly import files in PDF, RTF, TXT and Notability Note formats.

Notability can import files in PPT, DOC, and XLS format by using Google Drive to convert them into PDFs.

These files are not stored in Google Drive when they’re converted.

Posted in App Compendium | Tagged , | Leave a comment